HOW TO SEND US POI's
A Step by step guide to
setting up a custom POI set on your TomTom. This way you can send us the
data that you have stored so that we can add it to ours.
Step 1: Overview & SetupWe will show you how to setup a custom POI set on the tomtom, how to add your current location to that set and finally how to send that to us.
from the main menu select preferences and "Manage POIs"
MANAGE POI then select "Add POI category"
ADD POI CATEGORY You will need to provide a name for this set "Car_Parks" we will use for this example. Just use something easy to remember that relates to the contents. You will also have to select an icon that will be used by this when shown on maps. Once you have completed that the tomtom will make a new POI set. Its important that you set this up as explained - because this will actually create a new category on the tomtom. The tomtom makes a file in the map folder whilst doing this and its that which you will send to us later on. Once you have done this you can start to add locations to your new POI set. Step 2: Add Current Position To POI SetA useful feature is being able to add your current location to the POI set just created. That way you can have the places you want saved as well as being able to share them. To do this you click again on CHANGE PREFERENCES on the main menu. Then select MANAGE POI again but this time select ADD POI
ADD POI You will be prompted as to which location you want to add - use the right scroll button and click onto the next screen
on this next screen you wull see that you can add wither a point you select from the map which is good for adding places you know about and can find. However in this example we are adding our current location, to do this select "GPS Position"
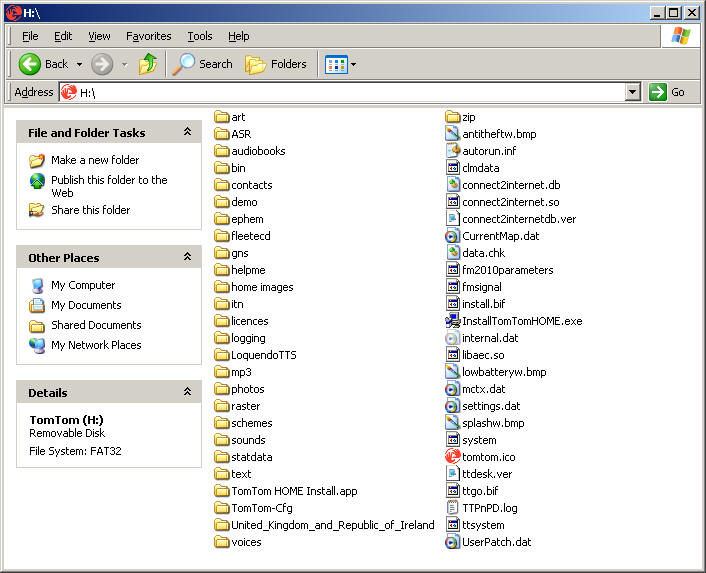
You are now asked to give a name for this location. If you are adding items to send to us like bridges, its best to put in the details with the name. for instance if its a 13ft 6inch bridge then put "13ft6 - Example Lane" as the name. This way we will know what the height is when we come to load it up. Step 3: Extract the file and send it to usAll that remains is to once you have filled the POI up with places you want to share with us, to send it. You need to locate the file, to do this just look on the TOMTOM device using MY COMPUTER.
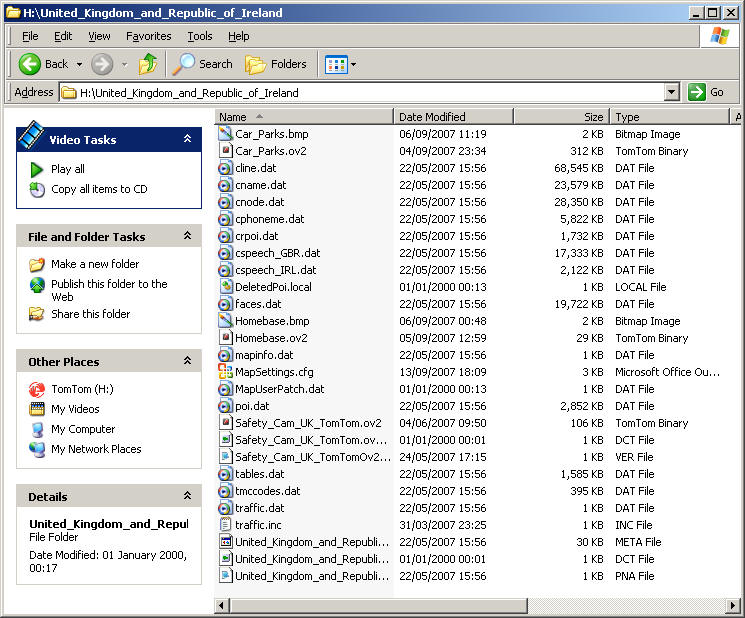
You can see an example above. Now you need to find the map folder. This will be called by the name of the country or countries you have installed on the TOMTOM. In the example above this is United_Kingdom_Republic_Ireland but some of alternatives are listed here (if yours differs don't worry): x:\Great_britain_map x:\Great_Britain-Map x:\Great_britain_plus-map x:\Western_Europe-map x:\United_Kingdom_and_Republic_of_Ireland If the custom POI set that you created above is in the folder then you have the correct location. You will find that the folder name often has the word "map" in it. Once you think you have the correct folder, you can open it up. Inside you need to find the file that has the .OV2 extension and will be named the same as the name you gave the POI set. You can see the example below, if yours looks a little different don't worry as long as the POI files is there. You can see the Car_Parks POI we made above at the top of the listing below.
In our example this was Car_Parks and so I would email the file Car_Parks.OV2 to us so we can see the locations you have added.
|
|
LANDIS MEDIA Ltd. is
a company owned and operated in the United Kingdom |